Intro
OSX Virtualization
Virtualization of Linux hosts on OSX can be achieved with various tools. There are commercial products such as VMWare Fusion or Parallels Desktop as well as open-source projects such as VirtualBox, UTM or Lima.
UTM is an OSX application that uses QEMU under the hood and offers a GUI to manage the VM lifecycle. It supports Apple silicon CPUs, and it can use native OSX virtualization (Virtualization.framework) as well. It also has a scripting interface via Apple Script to automate some processes and a proper CLI (utmctl) is on the works.
Lima is based on QEMU (experimental support for Virtualization.framework) as well and it launches Linux virtual machines with automatic file sharing and port forwarding (like WSL2), and containerd. Lima is expected to be used on macOS hosts, but can be used on Linux hosts as well. Lima has a proper CLI tool (limactl) and the best part is VMs can be defined in yaml files, so you can even deploy K8s clusters with just a single command (see https://github.com/lima-vm/lima/blob/master/examples/k8s.yaml)
NOTE: Rancher desktop is based on Lima
However, Lima doesn't support SLE Micro (yet) as Lima customizes the VM at boot to install some packages and services and SLE Micro uses a different approach to those things (for example as it is immutable, it requires installing packages using ignition/combustion)
SLE Micro installation automation: ISO vs Image
SLE Micro can be installed traditionally using an ISO file that boots once and using click-ops you can customize it as you wish (see https://documentation.suse.com/sle-micro/5.3/single-html/SLE-Micro-deployment/#cha-install) but that won't be useful.
ISO installation can be customized using boot parameters (see https://documentation.suse.com/sle-micro/5.3/single-html/SLE-Micro-deployment/#sec-boot-parameters-list) but those don't cover all the options. However, ISO based installation supports using AutoYaST (see https://documentation.suse.com/sle-micro/5.3/single-html/SLE-Micro-autoyast/) to automate the installation process.
SLE Micro can be also deployed using pre-built images. Currently, there are two types of images available: raw disk images and selfinstall ISOs.
SLE Micro raw images are delivered for the AMD64/Intel 64 architecture, IBM Z ZSeries and also AArch64, however the selfinstall images are currently delivered only for the AMD64/Intel 64 architecture. The pre-built images (both selfinstall ISOs and raw disk images) are intended to be configured on the first boot by using either Ignition or Combustion.
To summarize, the two ways as of today to deploy SLE Micro on Aarch64 on an automated fashion would be using the ISO + AutoYaST or raw images + Ignition/Combustion.
Ignition vs Butane vs Combustion
Ignition is a provisioning tool that enables you to configure a system according to your specification on the first boot. When the system is booted for the first time, Ignition is loaded as part of an initramfs and searches for a configuration file within a specific directory (on a USB flash disk, or you can provide a URL). All changes are performed before the kernel switches from the temporal file system to the real root file system (before the switch_root command is issued). Ignition uses a configuration file in the JSON format. The file is called config.ign. SLE Micro supports Ignition config spec 3.3.0 (see https://documentation.suse.com/sle-micro/5.3/single-html/SLE-Micro-deployment/#sec-ignition-configuration for more information).
Ignition files can be complex to generate manually (specially for the file permissions syntax in hex or multiline things) so you can use opensuse.github.io/fuel-ignition to help you generate a basic one.
Butane is a more human readable (and writable) configuration syntax based on yaml that can be translated to Ignition easily with the butane CLI as Butane is not consumable by Ignition.
Combustion is a dracut module that enables you to configure your
system on its first boot. Combustion reads a provided file called script
and executes commands in it and thus performs changes to the file
system. You can use Combustion to change the default partitions, set
users' passwords, create files, install packages, etc.
The Combustion dracut module is invoked after the ignition.firstboot
argument is passed to the kernel command line. Combustion then reads the
configuration from script. Combustion tries to configure the network, if
the network flag has been found in script. After /sysroot is mounted,
Combustion tries to activate all mount points in /etc/fstab and then
call transactional-update to apply other changes (like setting root
password or installing packages).
See https://documentation.suse.com/sle-micro/5.3/single-html/SLE-Micro-deployment/#sec-combustion-script
for more information.
Ignition/Combustion and UTM
Ignition and Combustion are intended to automate the deployment of SLE Micro systems. To use them with UTM there are a couple of alternatives:
-
Use the QEMU
fw_cfgflag as-fw_cfg name=opt/org.opensuse.combustion/script,file=/var/combustion-scriptfor combustion or-fw_cfg name=opt/com.coreos/config,file=PATH_TO_config.ignfor ignition -
Create a raw disk or ISO file to host the Ignition or Combustion (or both) files.
For Ignition, the configuration file config.ign must reside in the
ignition subdirectory on the configuration media labeled ignition. The
directory structure must look as follows:
<root directory>
└── ignition
    └── config.ign
For Combustion, the configuration device needs to be named combustion, a
specific directory structure in that configuration medium needs to be
created and include a configuration file named script. In the root
directory of the configuration medium, create a directory called
combustion and place the script into this directory along with other
files---SSH key, configuration files, etc. The directory structure then
should look as follows:
<root directory>
└── combustion
    └── script
    └── other files
Combustion can be used along with Ignition. If you intend to do so,
label your configuration medium ignition and include the ignition
directory with the config.ign to your directory structure as shown
below:
<root directory>
└── combustion
    └── script
    └── other files
└── ignition
    └── config.ign
In this scenario, Ignition runs before Combustion.
Image-based process step by step
NOTE: There is a helper script that automates all the steps included here.
Prerequisites
-
SLE Micro raw image
- Download the raw image file from the SUSE website at https://www.suse.com/download/sle-micro/
- Select ARM architecture
- Look for the raw file (I.e.-
SLE-Micro.aarch64-5.3.0-Default-GM.raw.xz)
NOTE: You need to have a valid user on the SUSE site to be able to download the file.
- Download the raw image file from the SUSE website at https://www.suse.com/download/sle-micro/
-
Access to SCC.suse.com to generate a registration code
- Search for
SUSE Linux Enterprise Microvia theProductsmenu, select the arch/version then copy and manually activate the registration code
- Search for
-
Butane, qemu and cdrtools installed (using brew for example)
brew install butane cdrtools qemu -
UTM installed (using brew for example)
brew install --cask utm
Note: If using the previous script, it is required to install UTM 4.2.2 at least as it includes the proper support for the automation.
Image preparation
-
Uncompress the SLE Micro image
xz -d ~/Downloads/SLE-Micro.*-Default-GM.raw.xz -
Move the file to a proper location and rename it to fit the VM hostname
cp ~/Downloads/SLE-Micro.*-Default-GM.raw ~/VMs/slemicro.raw -
Resize the image file. In this example, to 30G
qemu-img resize -f raw ~/VMs/slemicro.raw 30G > /dev/null
Ignition & Combustion files
To automate the installation, we will leverage Butane, Ignition and Combustion as explained before:
-
Create a temporary folder to store the assets
TMPDIR=$(mktemp -d) -
Create the required folders for ignition and combustion
mkdir -p ${TMPDIR}/{combustion,ignition} -
Create a
config.fccbutane config file as required. See the following example to set arootpassword for the root user, and to configure the hostname to be "slemicro"'cat << 'EOF' > ${TMPDIR}/config.fcc
variant: fcos
version: 1.4.0
storage:
files:
- path: /etc/hostname
mode: 0644
overwrite: true
contents:
inline: "slemicro"
passwd:
users:
- name: root
password_hash: "$y$j9T$/t4THH10B7esLiIVBROsE.$G1lyxfy/MoFVOrfXSnWAUq70Tf3mjfZBIe18koGOuXB"
EOF -
Create a script combustion file as required. See the following example to register the SLE Micro instance to SUSE's SCC (use your own email/regcode) and to create a
/etc/issue.d/combustionfilecat << EOF > ${TMPDIR}/combustion/script
#!/bin/bash
# combustion: network
# Redirect output to the console
exec > >(exec tee -a /dev/tty0) 2>&1
# Set hostname at combustion phase for SUSEConnect
hostname slemicro
# Registration
if ! which SUSEConnect > /dev/null 2>&1; then
zypper --non-interactive install suseconnect-ng
fi
SUSEConnect --email foobar@suse.com --url https://scc.suse.com --regcode YOURCODE
# Leave a marker
echo "Configured with combustion" > /etc/issue.d/combustion
EOF -
Convert the butane config to ignition
butane -p -o ${TMPDIR}/ignition/config.ign ${TMPDIR}/config.fcc -
Create an ISO file. It is requried for both ignition and combustion to work that the ISO is labeled as
ignition(hence the -V parameter)mkisofs -full-iso9660-filenames -o ignition-and-combustion.iso -V ignition ${TMPDIR} -
Optional: Remove the temporary folder
rm -Rf ${TMPDIR}
VM Creation
Now it is time to finally use UTM to boot the VM
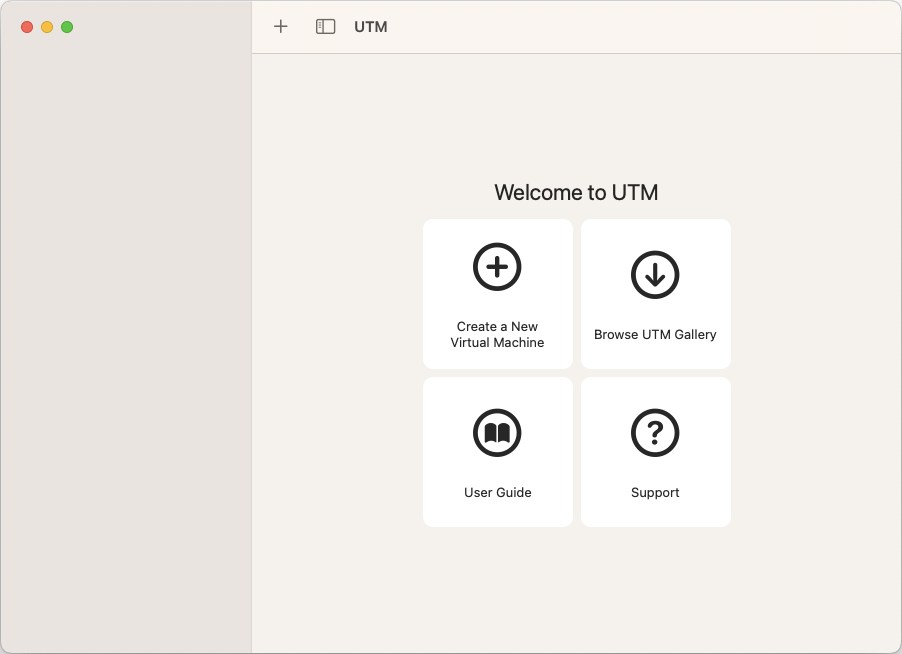
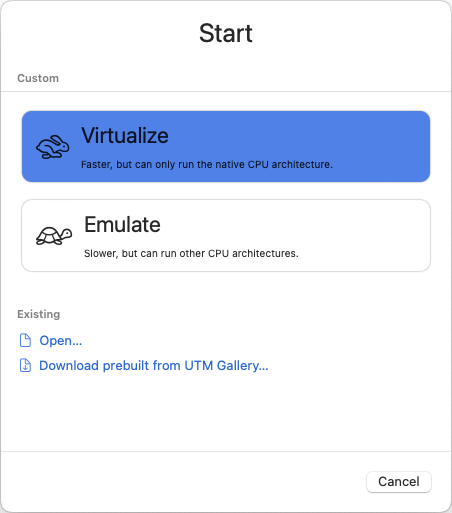
Create a New Virtual Machine using Virtualization
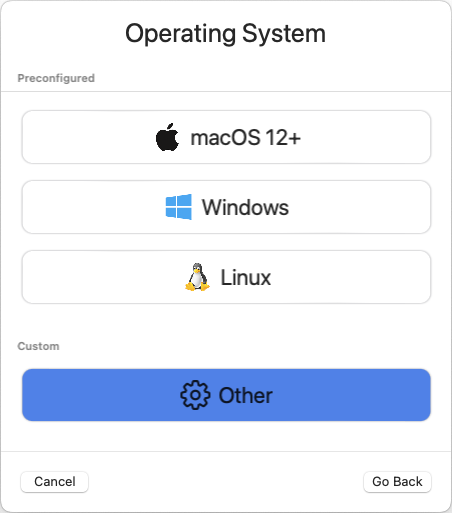
Select "Other"
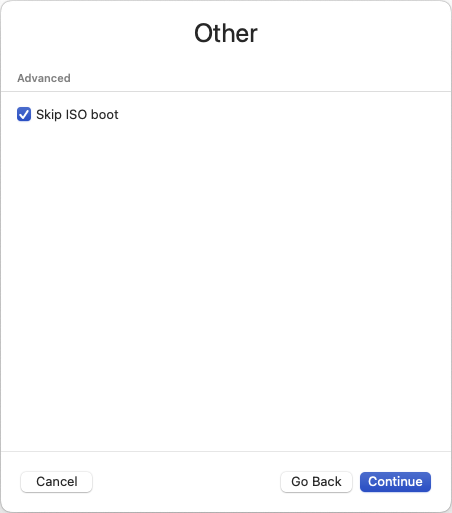
Enable the "Skip ISO boot" option as we will use the raw disk directly
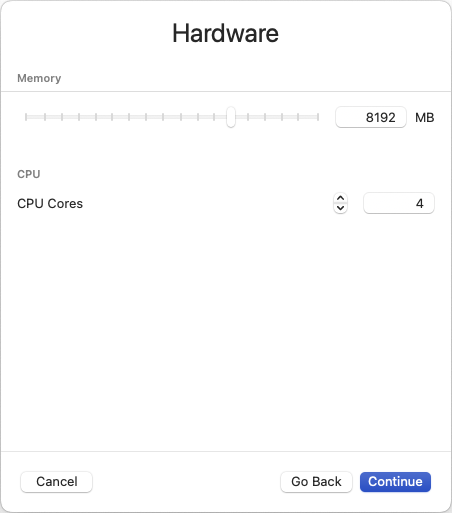
Select the required CPU/RAM:
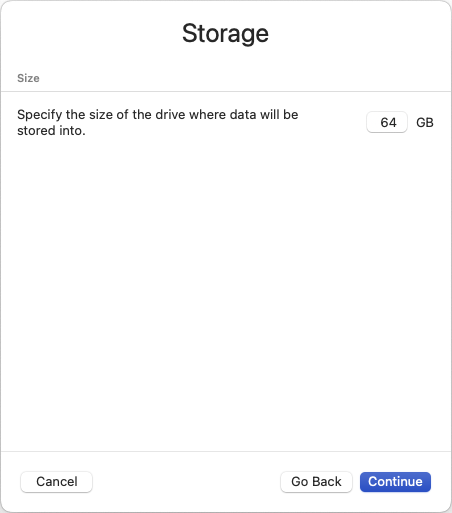
Accept the storage size as it is, it will be deleted before booting it
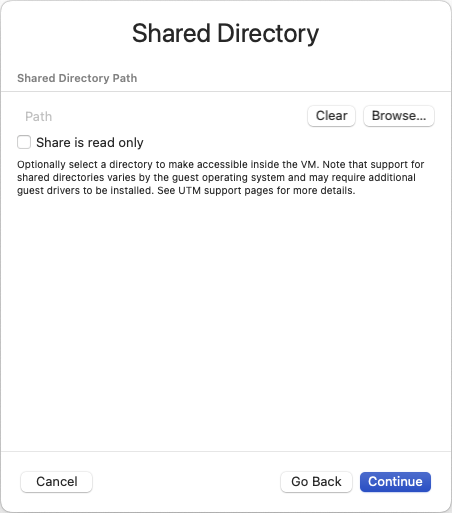
Skip the Shared Directory
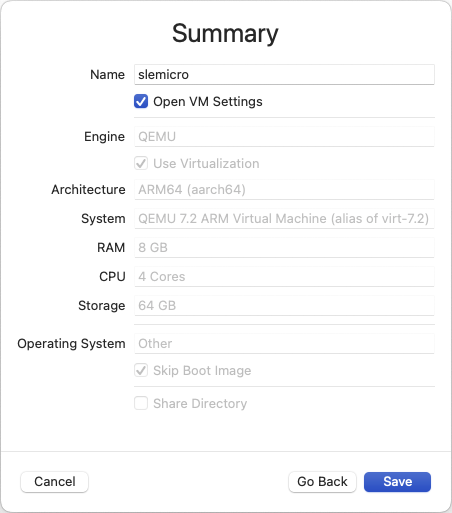
Edit the VM name and enable the "Open VM Settings" toggle to customize it further:
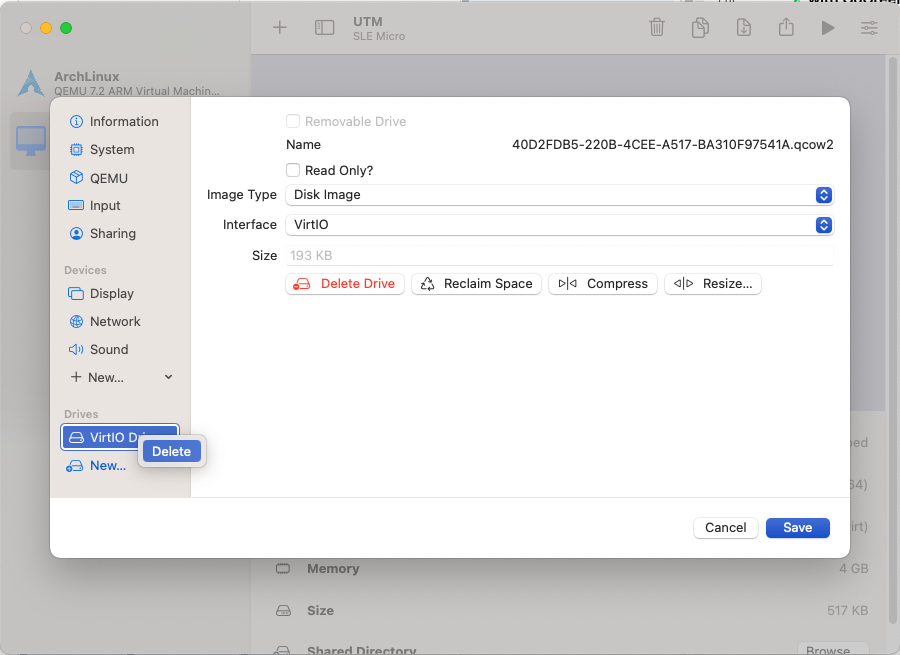
Delete the VirtIO Drive
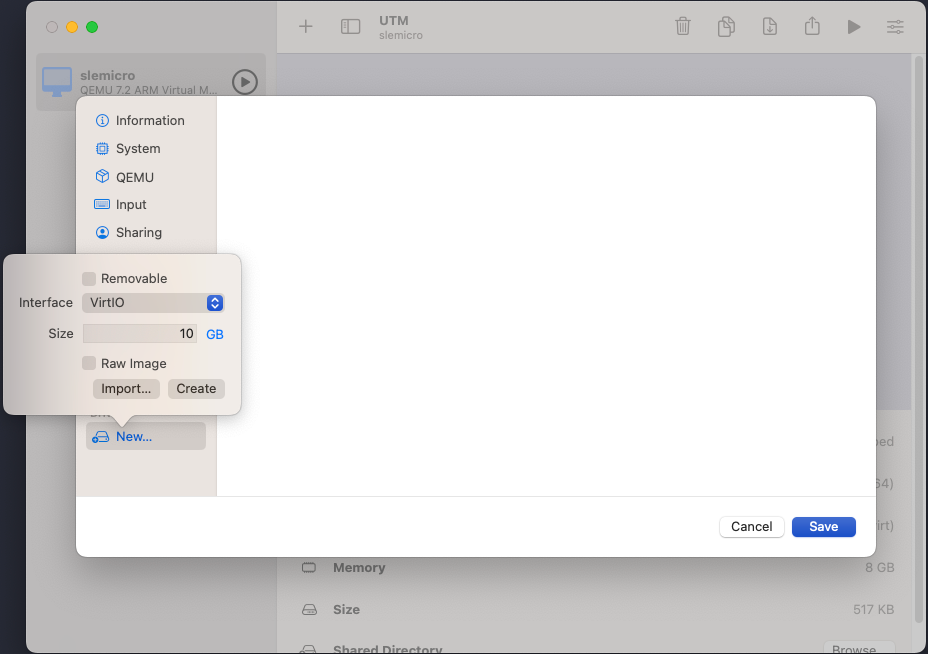
Add a new Drive and select "Import"
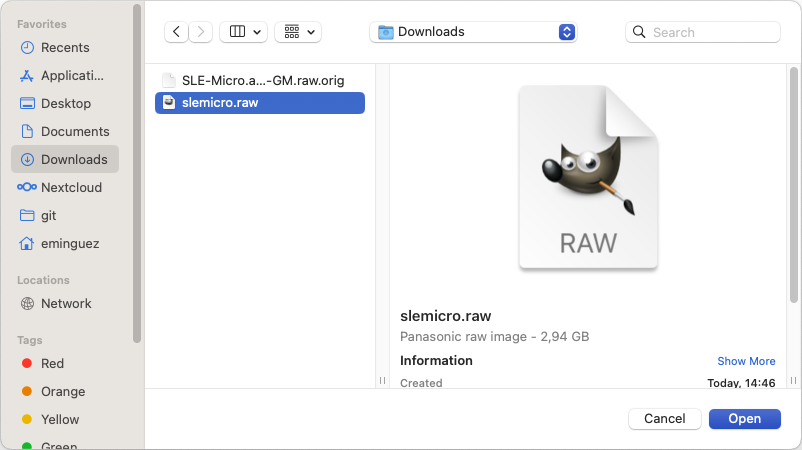
Select the raw image file (~/VMs/slemicro.raw in this case)
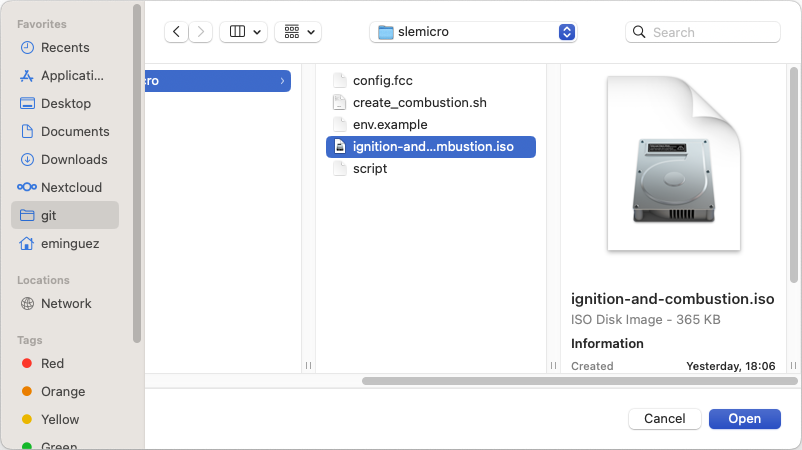
Repeat the last two steps to add the ignition-and-combustion.iso file
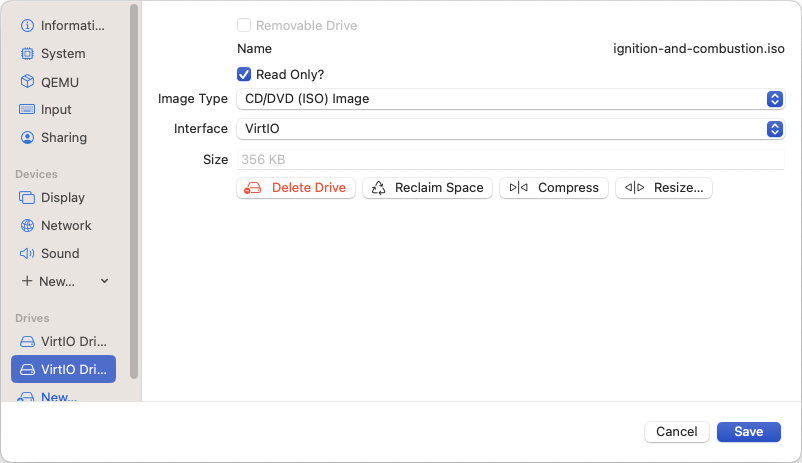
Configure the ISO as Read Only and "CD/DVD (ISO) Image"
Finally, boot the VM.
After a couple of seconds, the VM will boot up and will configure itself using the ignition and combustion scripts, including registering itself to SCC
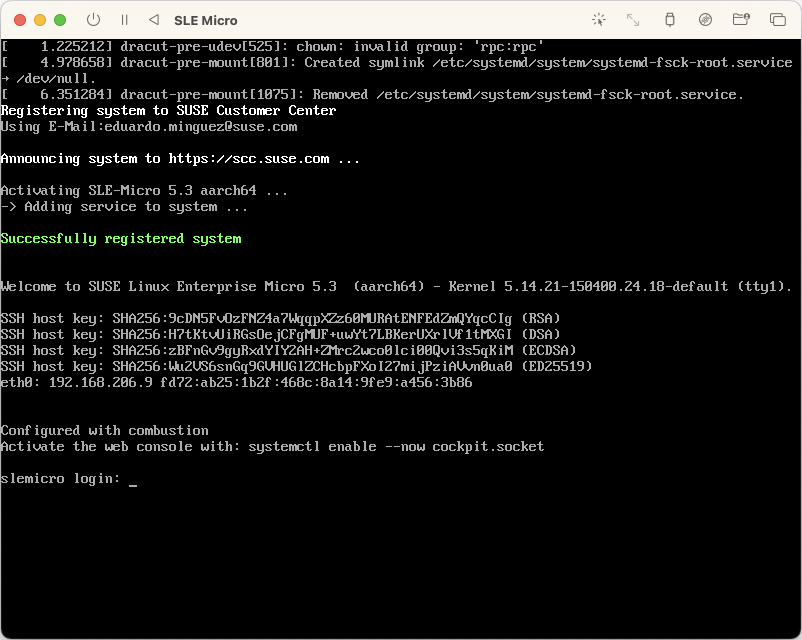

NOTE: In case the VM doesn't get network connectivity, try https://github.com/utmapp/UTM/discussions/3530#discussioncomment-5072113
NOTE: Once the VM is running, you can access via SSH via its IP as ssh root@<ip>
ISO Process (TBD)
- Download the ISO file
- Create a new VM on UTM using the ISO file
- Create the autoyast answer file
- Use the AutoYaST boot parameter to map to the answer file
- Boot the VM
- Profit!