Intro
K3s
K3s is a highly available, certified Kubernetes distribution designed for production workloads in unattended, resource-constrained, remote locations or inside IoT appliances.
It is packaged as a single and small binary so installations and updates are fast and easy.
The installation procedure can be as simple as downloading the k3s binary and run it.
However, the preferred way is to use the install script as it creates and configures a service.
The script supports different installation parameters to customize K3s, including HA support, install control-plane nodes, dedicated etcd nodes, agents, etc.
Once installed, the parameters and flags can be modified, added or removed just by changing the systemd unit file or the config file and restarting the service. Neat!
K3s on SLE Micro
The installation scripts supports SLE Micro, it recognizes the underlying operating system, installs the k3s-selinux package using transactional-updates and creates the k3s or k3s-agent services.
NOTE: On SLE Micro, the install script doesn't start the k3s or k3s-agent service (ideally you should reboot the host once you run a transactional-update), but this can be override by using the INSTALL_K3S_SKIP_START=false environment variable.
K3s all-in-one
The simplest way to run K3s is an all-in-one server (not suited for production environments) is by running:
curl -sfL https://get.k3s.io | sh -
A few environment variables to tweak our installation can be used as well as:
curl -sfL https://get.k3s.io | INSTALL_K3S_EXEC="server --cluster-init --write-kubeconfig-mode=644" K3S_TOKEN=foobar sh -
The settings can be specified either as environment variables, command line flags, a configuration file, or both, it is just a personal choice:
curl -sfL https://get.k3s.io | sh -s - server --token foobar --cluster-init --write-kubeconfig-mode=644
write-kubeconfig-mode: "0644"
cluster-init: true
token: "foobar"
In this example:
write-kubeconfig-modeis self explanatory (the default is 0600)cluster-initenables clustering by deploying an embedded etcd databasetokena random token is generated to be able to add nodes to the cluster, specifying it at installation time makes things easier as it is known upfront
The official documentation explains all the flags in detail.
Adding agents
Adding an agent is as simple as running the install script with a few parameters, including the URL of the cluster as:
curl -sfL https://get.k3s.io | K3S_URL=https://myserver:6443 K3S_TOKEN=foobar sh -
K3s HA
The easiest way to run a K3s HA cluster is by installing a first node using the --cluster-init flag and then, start adding nodes.
# First node
curl -sfL https://get.k3s.io | INSTALL_K3S_EXEC="server --cluster-init --write-kubeconfig-mode=644" K3S_TOKEN=foobar sh -
# Rest of the nodes
curl -sfL https://get.k3s.io | INSTALL_K3S_EXEC="server --server https://myserver:6443 --write-kubeconfig-mode=644" K3S_TOKEN=foobar sh -
# Agent nodes
curl -sfL https://get.k3s.io | INSTALL_K3S_EXEC="agent --server https://myserver:6443" K3S_TOKEN=foobar sh -
This is what a cluster with 3 control-plane nodes and 2 agents looks like:
NAME   STATUS   ROLES                       AGE     VERSION        INTERNAL-IP       EXTERNAL-IP   OS-IMAGE                          KERNEL-VERSION                 CONTAINER-RUNTIME
cp01   Ready    control-plane,etcd,master   2m26s   v1.26.4+k3s1   192.168.205.99    <none>        SUSE Linux Enterprise Micro 5.4   5.14.21-150400.24.46-default   containerd://1.6.19-k3s1
cp02   Ready    control-plane,etcd,master   98s     v1.26.4+k3s1   192.168.205.100   <none>        SUSE Linux Enterprise Micro 5.4   5.14.21-150400.24.46-default   containerd://1.6.19-k3s1
cp03   Ready    control-plane,etcd,master   71s     v1.26.4+k3s1   192.168.205.101   <none>        SUSE Linux Enterprise Micro 5.4   5.14.21-150400.24.46-default   containerd://1.6.19-k3s1
w01    Ready    <none>                      63s     v1.26.4+k3s1   192.168.205.102   <none>        SUSE Linux Enterprise Micro 5.4   5.14.21-150400.24.46-default   containerd://1.6.19-k3s1
w02    Ready    <none>                      39s     v1.26.4+k3s1   192.168.205.103   <none>        SUSE Linux Enterprise Micro 5.4   5.14.21-150400.24.46-default   containerd://1.6.19-k3s1
K3s API HA
The previous section lacks an important detail, the Kubernetes API is served by the 3 control-plane nodes, but the API certificate is generated just for the first node. If the first node is down, the clients needs their API endpoint to be tweaked to point to another node (i.e.- for kubectl, using the -s flag or modifying the kubeconfig file) and the certificate won't be accepted as it doesn't contain the IP/hostname of that other node (it can be forced to be ignored using --insecure-skip-tls-verify=true for kubectl but that's not a good practice).
Ideally a mechanism to expose the K3s API in a high availability scenario is required. This usually means running a load balancer outside of the K3s cluster to serve and redirect the requests to the K3s API endpoints, so if one of the servers fail, the load balancer will re-route the requests to the other ones. This solves the HA problem but it adds complexity as it requires an external service, which sometimes is not available (typically in non-cloud environments such as baremetal deployments).
One approach can be to run a self-contained solution involving kube-vip to expose the K3s API over a virtual IP (optionally including a load balancer as well). This solves the HA problem but the certificate can still be a problem... but K3s got you covered. By using the --tls-san flag at K3s installation time, a list of IPs and/or hostnames can be provided for the certificate to be included as Subject Alternative Names, meaning the K3s API will be happily served from those IPs/hostnames, and if those are the ones being served by the VIP, the solution is now HA and certificate-proof! Let's see it in more detail in the next section.
NOTE: kube-vip can be used also to expose Kubernetes services, but this is out of scope of this document.
VIP reservation
The VIP needs to be an IP available in the same subnet than the one where the control plane hosts are running (this is technically not true for the VIP itself but for load-balancing).
NOTE: If you are using OSX to virtualize the SLE Micro OS where K3s is going to be installed, you can see the dhcp leases in the /var/db/dhcpd_leases file and the subnet range in the /Library/Preferences/SystemConfiguration/com.apple.vmnet.plist one. You can use a free IP in that range, but if you find a way to reserve an IP in that range, please open a GitHub issue or a pull request with instructions to do it!.
K3s installation - First node
The first step is to install K3s in HA and using the --tls-san flag as well. This flag can be repeated many times, so in this example will be used to add both the IP (192.168.205.10 in this example) and the DNS name of the VIP (using sslip.io as a poor's man DNS):
curl -sfL https://get.k3s.io | INSTALL_K3S_EXEC="server --cluster-init --write-kubeconfig-mode=644 --tls-san=192.168.205.10 --tls-san=https://192.168.205.10.sslip.io" K3S_TOKEN=foobar sh -
The rest of the nodes will be installed after kube-vip as the server URL for them to join the cluster will be the VIP.
Kube-vip installation
The official kube-vip documentation explains the steps in more detail, but essentially it means creating the required resource files for kube-vip to run (RBAC and a DaemonSet).
IMPORTANT: IPVS modules must be loaded in order for the load balancer feature to work. This is achieved by creating the following file:
cat <<- EOF > /etc/modules-load.d/ipvs.conf
ip_vs
ip_vs_rr
ip_vs_wrr
ip_vs_sh
nf_conntrack
EOF
Configurations stored under /etc/modules-load.d will be automatically picked up and loaded on boot.
Loading them for the first time, however, can be achieved without rebooting by executing:
for i in $(cat /etc/modules-load.d/ipvs.conf); do modprobe ${i}; done
The Kubernetes resources can be created by leveraging K3s auto-deploy feature
(aka. any manifest stored in a particular folder of the host /var/lib/rancher/k3s/server/manifests will be automatically deployed at the K3s service startup or when the file changes via something similar to kubectl apply -f).
NOTE: In this case, the --services flag for kube-vip won't be used.
export VIP=192.168.205.10
cat <<- EOF > /var/lib/rancher/k3s/server/manifests/kube-vip.yaml
apiVersion: v1
kind: ServiceAccount
metadata:
  name: kube-vip
  namespace: kube-system
---
apiVersion: rbac.authorization.k8s.io/v1
kind: ClusterRole
metadata:
  annotations:
    rbac.authorization.kubernetes.io/autoupdate: "true"
  name: system:kube-vip-role
rules:
  - apiGroups: [""]
    resources: ["services", "services/status", "nodes", "endpoints"]
    verbs: ["list","get","watch", "update"]
  - apiGroups: ["coordination.k8s.io"]
    resources: ["leases"]
    verbs: ["list", "get", "watch", "update", "create"]
---
kind: ClusterRoleBinding
apiVersion: rbac.authorization.k8s.io/v1
metadata:
  name: system:kube-vip-binding
roleRef:
  apiGroup: rbac.authorization.k8s.io
  kind: ClusterRole
  name: system:kube-vip-role
subjects:
- kind: ServiceAccount
  name: kube-vip
  namespace: kube-system
---
apiVersion: apps/v1
kind: DaemonSet
metadata:
  labels:
    app.kubernetes.io/name: kube-vip-ds
    app.kubernetes.io/version: v0.5.12
  name: kube-vip-ds
  namespace: kube-system
spec:
  selector:
    matchLabels:
      app.kubernetes.io/name: kube-vip-ds
  template:
    metadata:
      labels:
        app.kubernetes.io/name: kube-vip-ds
        app.kubernetes.io/version: v0.5.12
    spec:
      affinity:
        nodeAffinity:
          requiredDuringSchedulingIgnoredDuringExecution:
            nodeSelectorTerms:
            - matchExpressions:
              - key: node-role.kubernetes.io/master
                operator: Exists
            - matchExpressions:
              - key: node-role.kubernetes.io/control-plane
                operator: Exists
      containers:
      - args:
        - manager
        env:
        - name: vip_arp
          value: "true"
        - name: port
          value: "6443"
        - name: vip_interface
          value: eth0
        - name: vip_cidr
          value: "32"
        - name: cp_enable
          value: "true"
        - name: cp_namespace
          value: kube-system
        - name: vip_ddns
          value: "false"
        - name: vip_leaderelection
          value: "true"
        - name: vip_leaseduration
          value: "5"
        - name: vip_renewdeadline
          value: "3"
        - name: vip_retryperiod
          value: "1"
        - name: address
          value: ${VIP}
        - name: prometheus_server
          value: :2112
        - name: lb_enable
          value: "true"
        image: ghcr.io/kube-vip/kube-vip:v0.5.12
        imagePullPolicy: Always
        name: kube-vip
        securityContext:
          capabilities:
            add:
            - NET_ADMIN
            - NET_RAW
      hostNetwork: true
      serviceAccountName: kube-vip
      tolerations:
      - effect: NoSchedule
        operator: Exists
      - effect: NoExecute
        operator: Exists
EOF
K3s installation - Control-plane nodes
Once kube-vip is in place, the rest of the control-plane nodes can be added to the cluster by pointing them to the VIP as:
export VIP=192.168.205.10
curl -sfL https://get.k3s.io | INSTALL_K3S_EXEC="server --server https://${VIP}:6443 --write-kubeconfig-mode=644" K3S_TOKEN=foobar sh -
NOTE: For a real HA scenario, it is required for etcd to have an odd number of nodes, so it would be required to add two more control plane nodes.
After a while, the nodes will join the cluster successfully and an HA cluster will be ready.
Kubeconfig tweaks
The kubeconfig file that is generated as part of the installation has localhost as the Kubernetes API endpoint, so in order to use it from outside, it needs to be changed to the VIP as:
- MacOS
- SUSE
scp 192.168.205.10:/etc/rancher/k3s/k3s.yaml ~/.kube/config && sed -i '' 's/127.0.0.1/192.168.205.10/g' ~/.kube/config && chmod 600 ~/.kube/config
scp 192.168.205.10:/etc/rancher/k3s/k3s.yaml ~/.kube/config && sed -i 's/127.0.0.1/192.168.205.10/g' ~/.kube/config && chmod 600 ~/.kube/config
K3s installation - adding agents
Agents can be added as usual, pointing to the VIP address as:
export VIP=192.168.205.10
curl -sfL https://get.k3s.io | INSTALL_K3S_EXEC="agent --server https://${VIP}:6443" K3S_TOKEN=foobar sh -
Final picture
kubectl get nodes -o jsonpath="{.items[*].status.addresses[?(@.type=='InternalIP')].address}"
192.168.205.69 192.168.205.70 192.168.205.71 192.168.205.72 192.168.205.73%

kubectl cluster-info
Kubernetes control plane is running at https://192.168.205.10:6443
As you can see, the control plane IP is the VIP and the nodes have their own IP. Sweet!
K3s tips
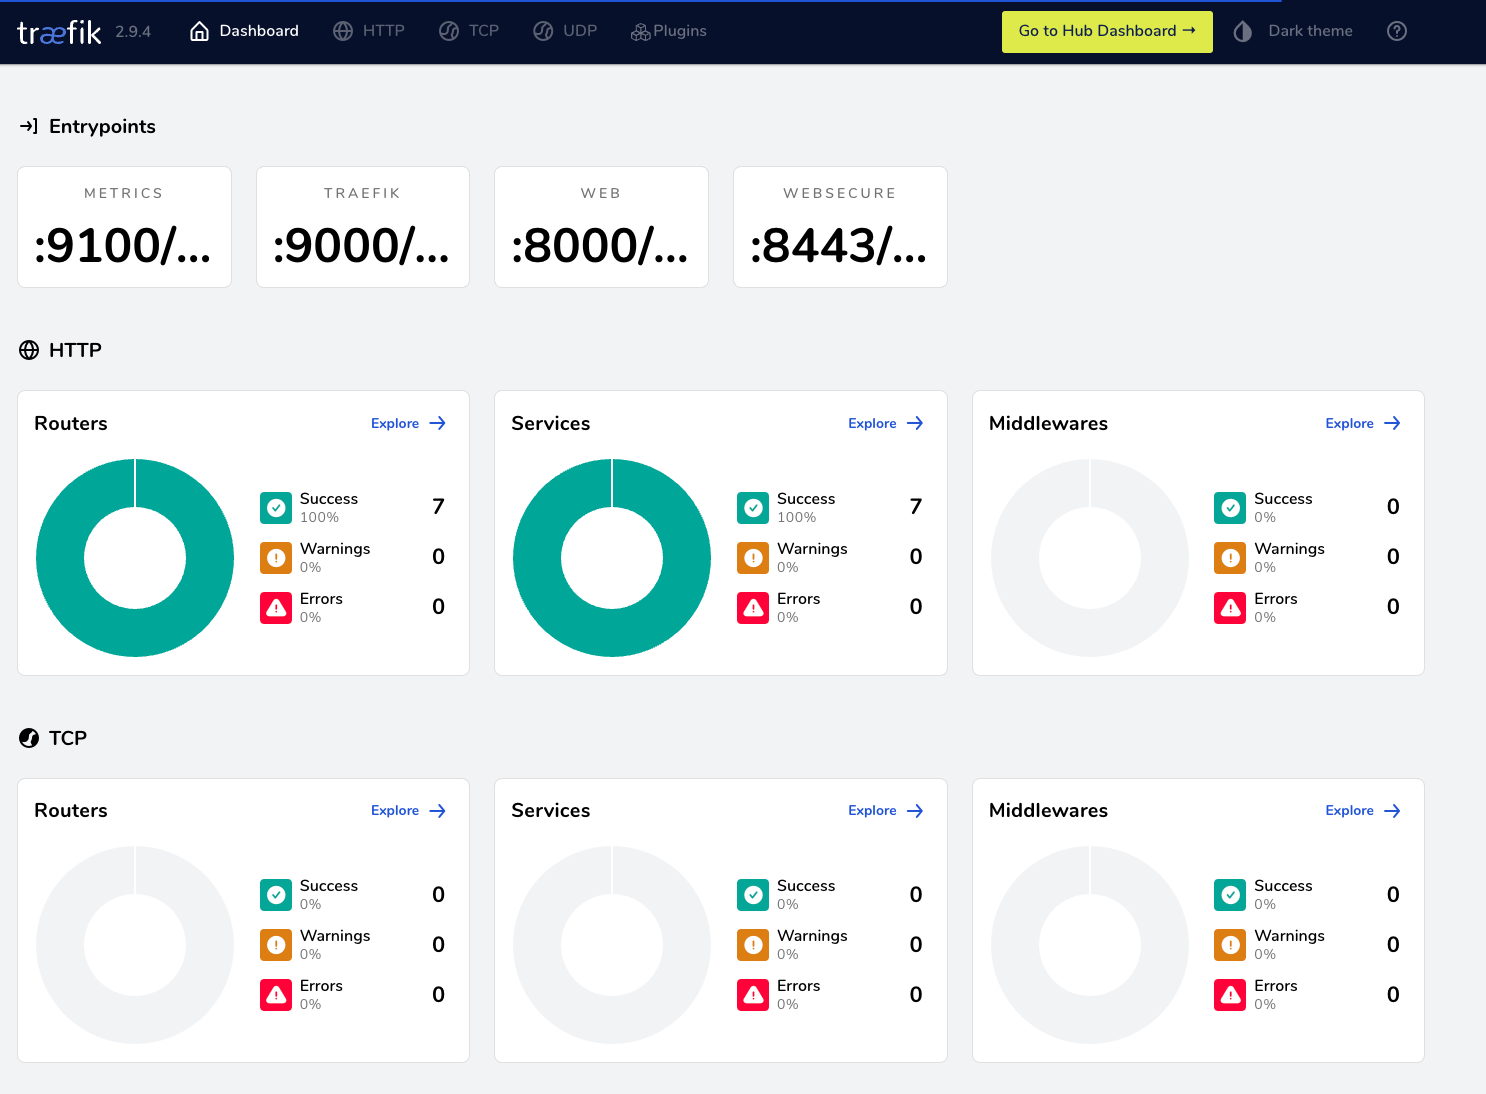
Access Traefik dashboard
kubectl port-forward $(kubectl get pods --selector "app.kubernetes.io/name=traefik" -o=name -n kube-system) -n kube-system 9000:9000
Then, browse http://localhost:9000/dashboard to observe the Traefik dashboard: