SUSE Adaptive Telco Infrastructure Platform (ATIP)
SUSE ATIP is a platform designed for hosting modern, cloud native, Telco applications at scale from core to edge.
This page explains how to install and configure the management cluster. Rancher is a complete software stack for teams adopting containers. It addresses the operational and security challenges of managing multiple Kubernetes clusters across any infrastructure, while providing DevOps teams with integrated tools for running containerized workloads. In our particular case, the Rancher management cluster will be the tool that will be used to manage the edge cluster lifecycle. The server used for the management cluster can be installed on VMs or bare metal. The management cluster can be installed on a single node, but it is recommended to have at least 3 nodes/VMs for HA.
For more information about Rancher, please check: https://rancher.com/why-rancher
Requirements
- A minimum of 1GB of RAM per node available to be used by the Rancher management cluster
- Accurate time synchronization (
ntporchronyd) between all nodes in the cluster. - A minimum of 2 vCPUs per node available to be used by the Rancher management cluster
- A minimum of 12GB of disk space (recomended 20GB of disk) per node available to be used by the Rancher management cluster
For more information about time synchronization, please check: https://documentation.suse.com/sles/15-SP4/html/SLES-all/cha-ntp.html
OS Install
This section covers the installation of the OS on the management cluster nodes. The OS used for the management cluster installation is SLE Micro 5.4 that can be downloaded from here.
Using SUSE Linux Enterprise Micro, you can build and scale differentiating edge systems across a wide range of industries including aerospace, telecom, automotive, defense, healthcare, hospitality, and manufacturing.
SUSE Linux Enterprise Micro 5.4 is available on the AMD64 and Intel 64 (x86_64), Arm 64 and IBM z System or LinuxONE (s390x) hardware architectures.
SUSE Linux Enterprise Micro provides self-install ISO images that enable you to deploy SLE Micro to your machine easily (either a virtual machine or a bare metal) and configure the system on the first boot.
For this installation we will use the self-install ISO: SLE-Micro.x86_64-5.4.0-Default-SelfInstall-GM.install.iso
For more information, please refer Release Notes: https://www.suse.com/releasenotes/x86_64/SLE-Micro/5.4/
For more information about the installation, please refer to the documentation: https://documentation.suse.com/en-us/sle-micro/5.4/html/SLE-Micro-all/
Preparing the configuration device (Optional)
The following procedure describes how to prepare the configuration device in case you want to configure the system using combustion and ignition files, instead of using the JEOS Firstboot wizard:
- Format the disk to any file system supported by SLE Micro: Ext3, Ext4, etc.:
sudo mkfs.ext4 /dev/sdY
- Set the device label to either ignition (when either Ignition or Combustion is used) or combustion (when only Combustion is used). For the Ext4 file system:
sudo e2label /dev/sdY ignition
You can use any type of configuration storage media that your virtualization system or your hardware supports: ISO image, a USB flash disk, etc.
- Mount the device:
sudo mount /dev/sdY /mnt
- Create the directory structure as mentioned in this link:
sudo mkdir -p /mnt/ignition/
or:
sudo mkdir -p /mnt/combustion/
- Prior to booting for the first time, prepare all elements of the configuration that will be used by Ignition or Combustion. To log in to your system, you need to provide a password for root or set up passwordless authentication, otherwise the system will not be accessible after the first boot.
For more information about the configuration files using combustion and ignition, please refer to the documentation: https://documentation.suse.com/sle-micro/5.4/html/SLE-Micro-all/cha-images-ignition.html#
Installation
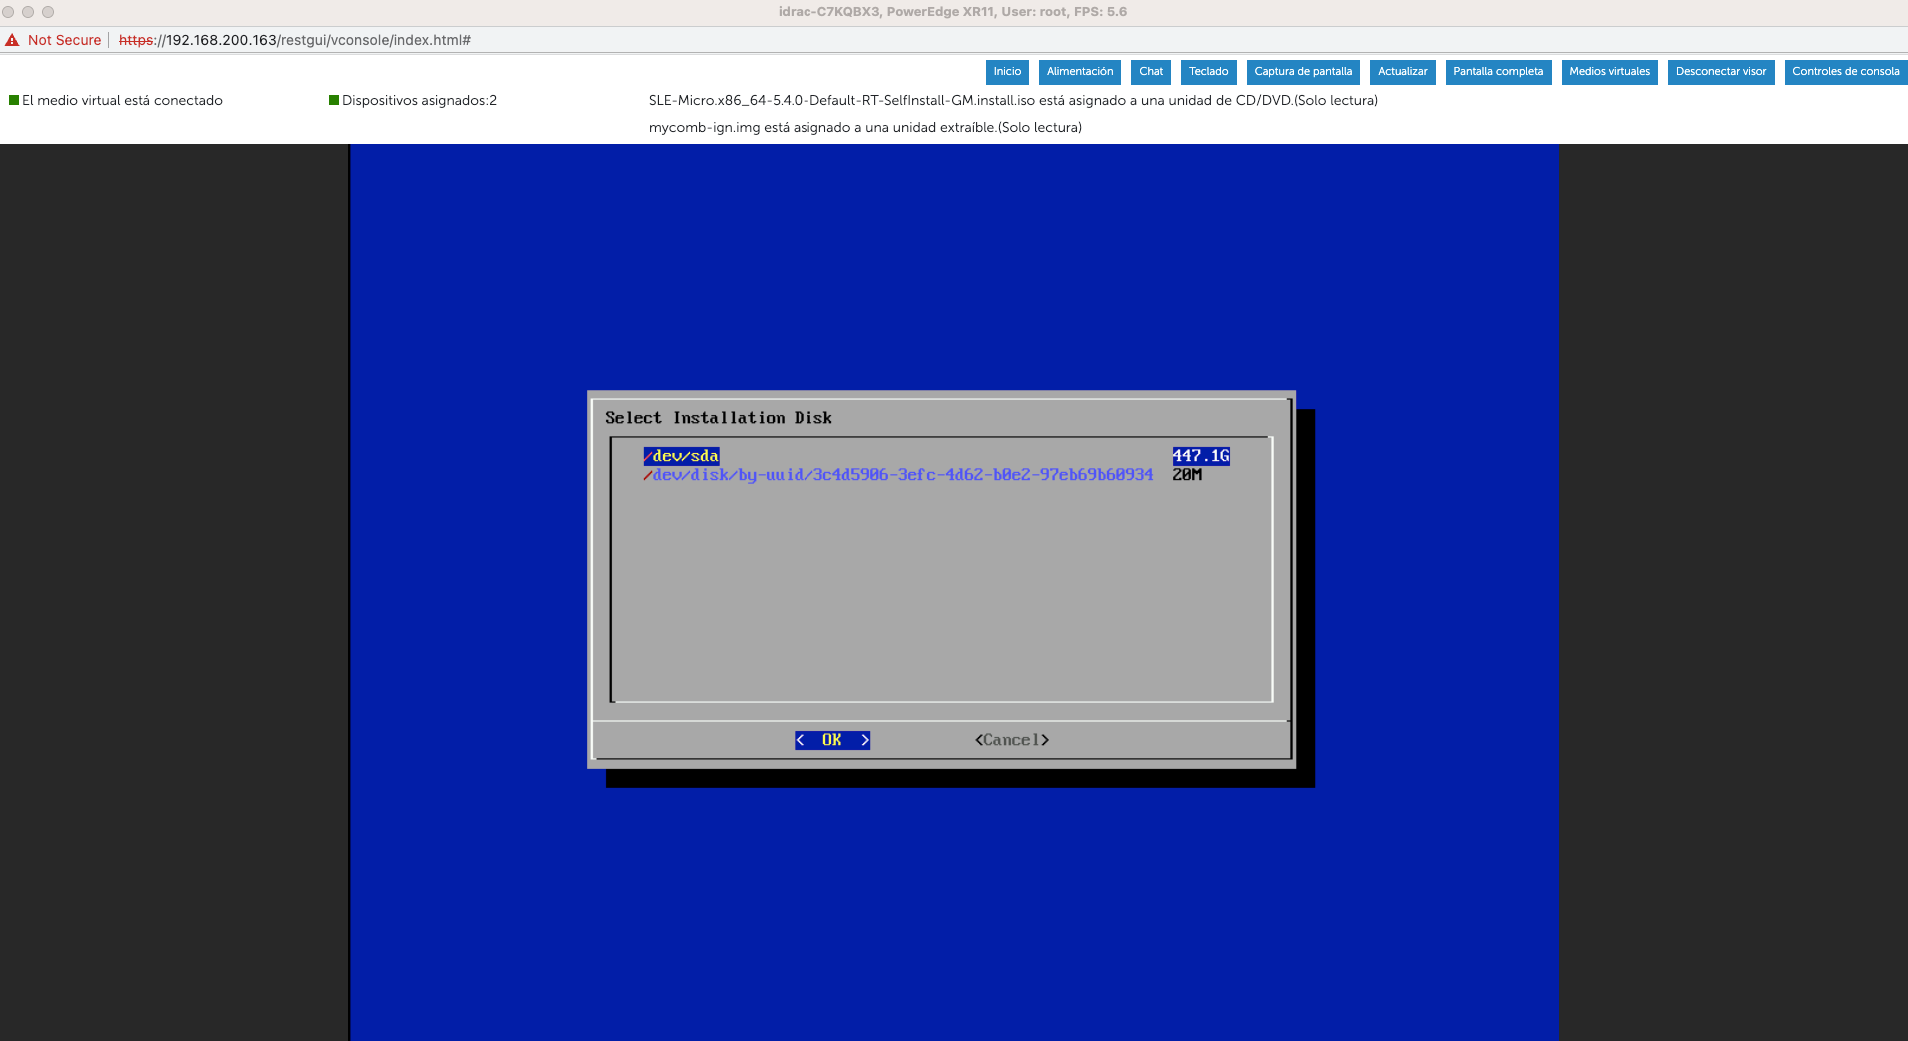
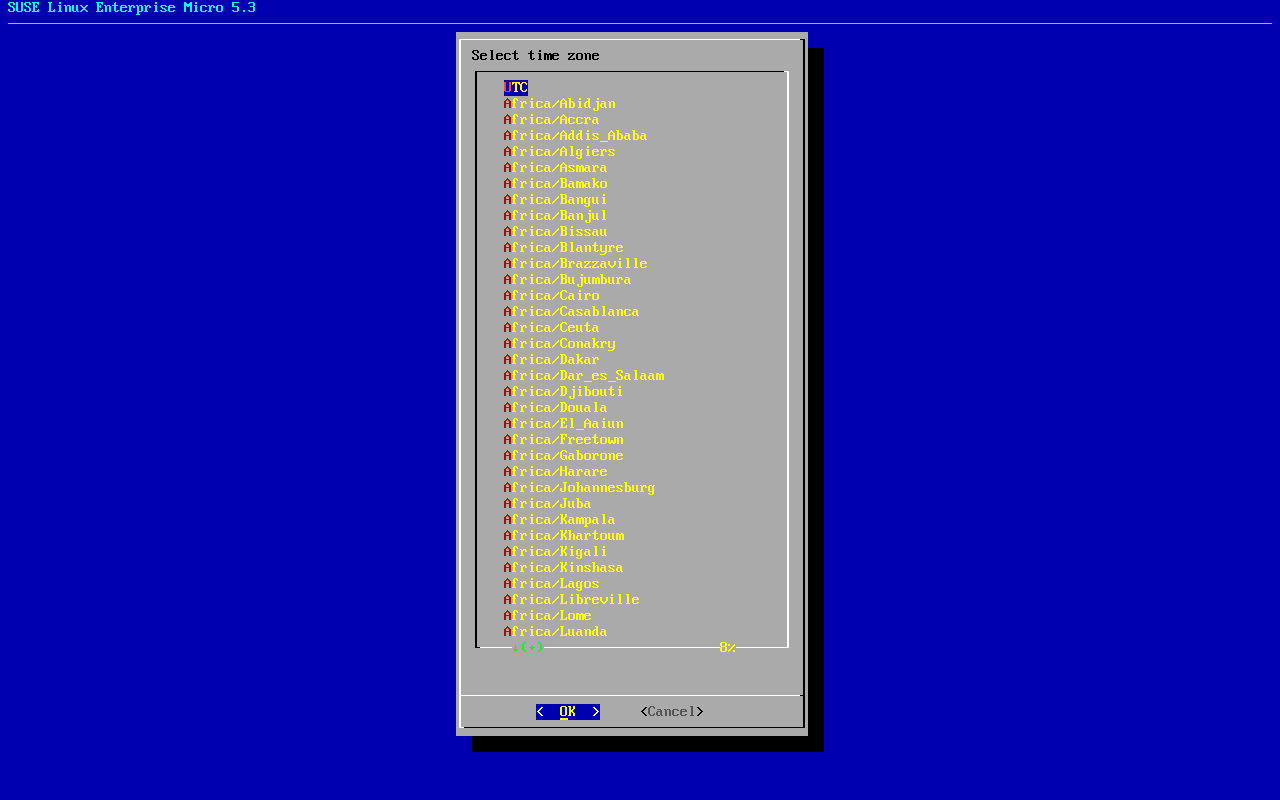
- Boot the system from the ISO image and select Install SLE Micro

- Select the Installation Disk and click OK
- Installation will start copying the files to disk
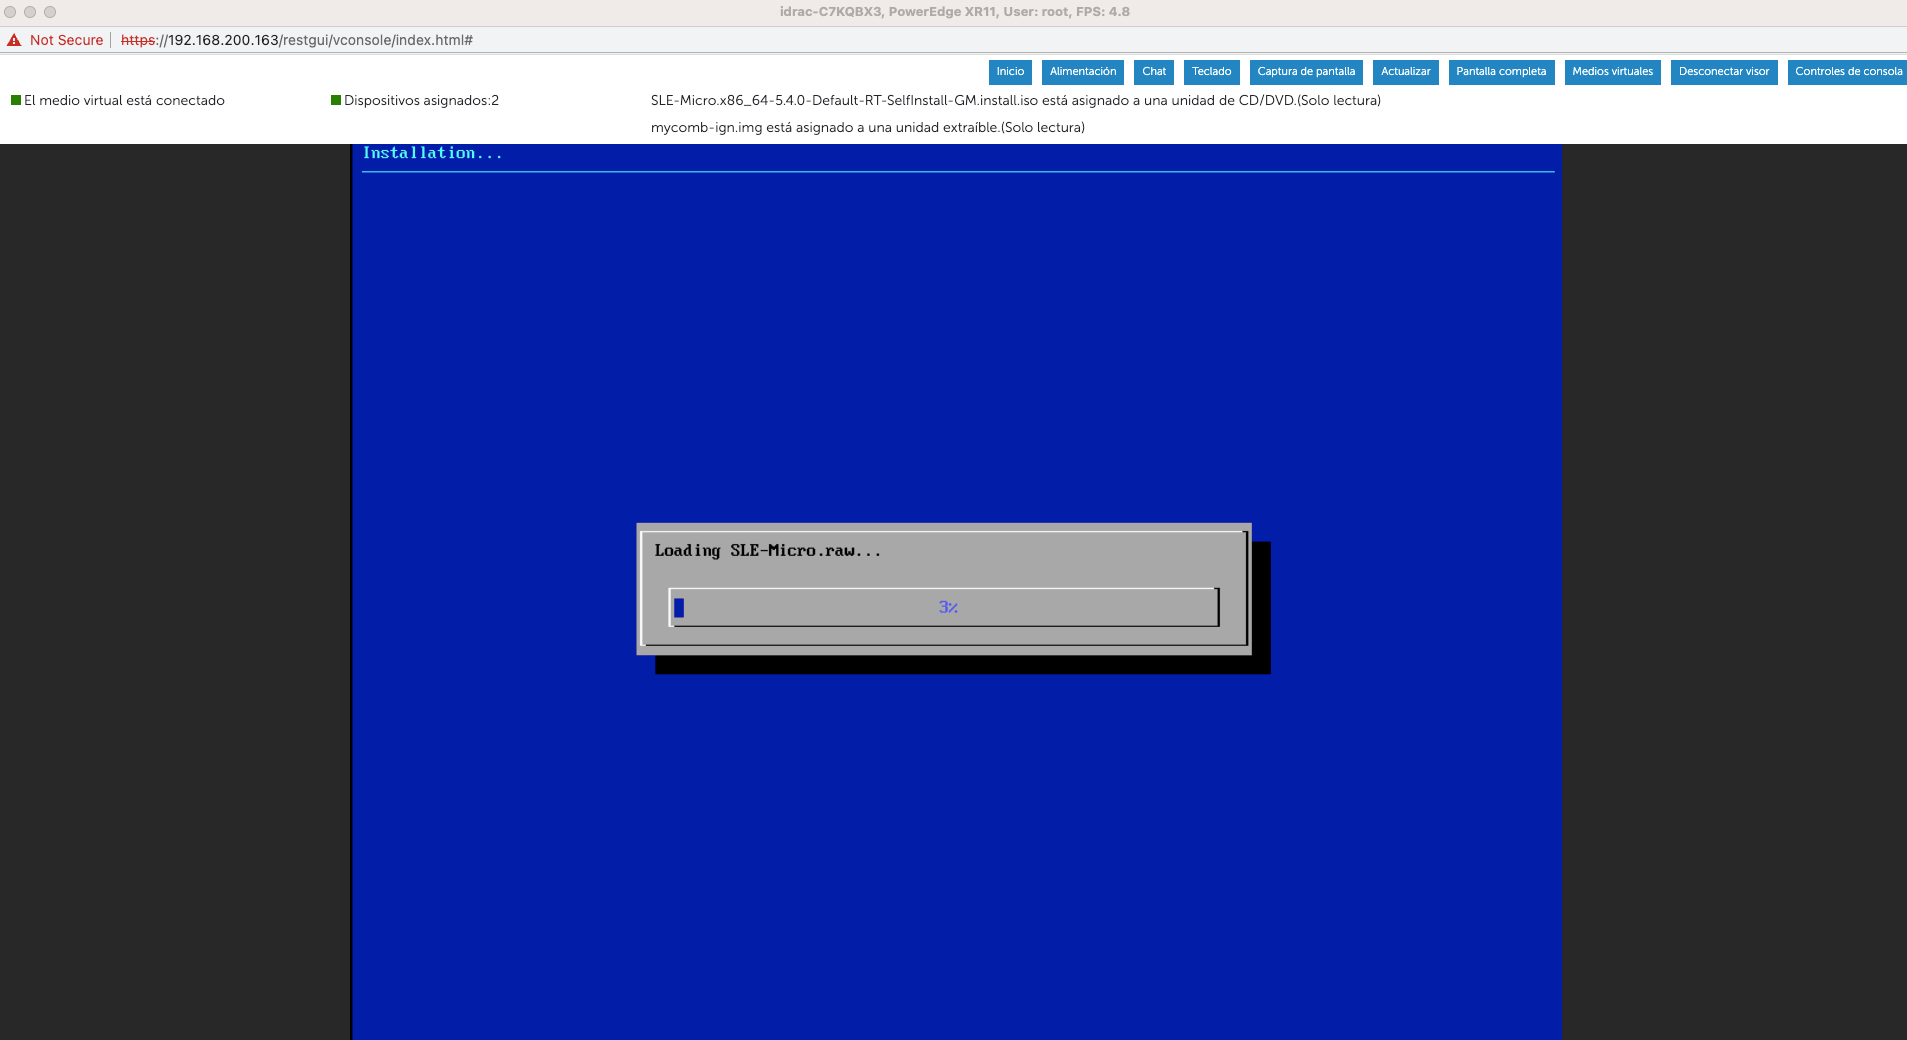
-
Once the installation is finished, the system will reboot
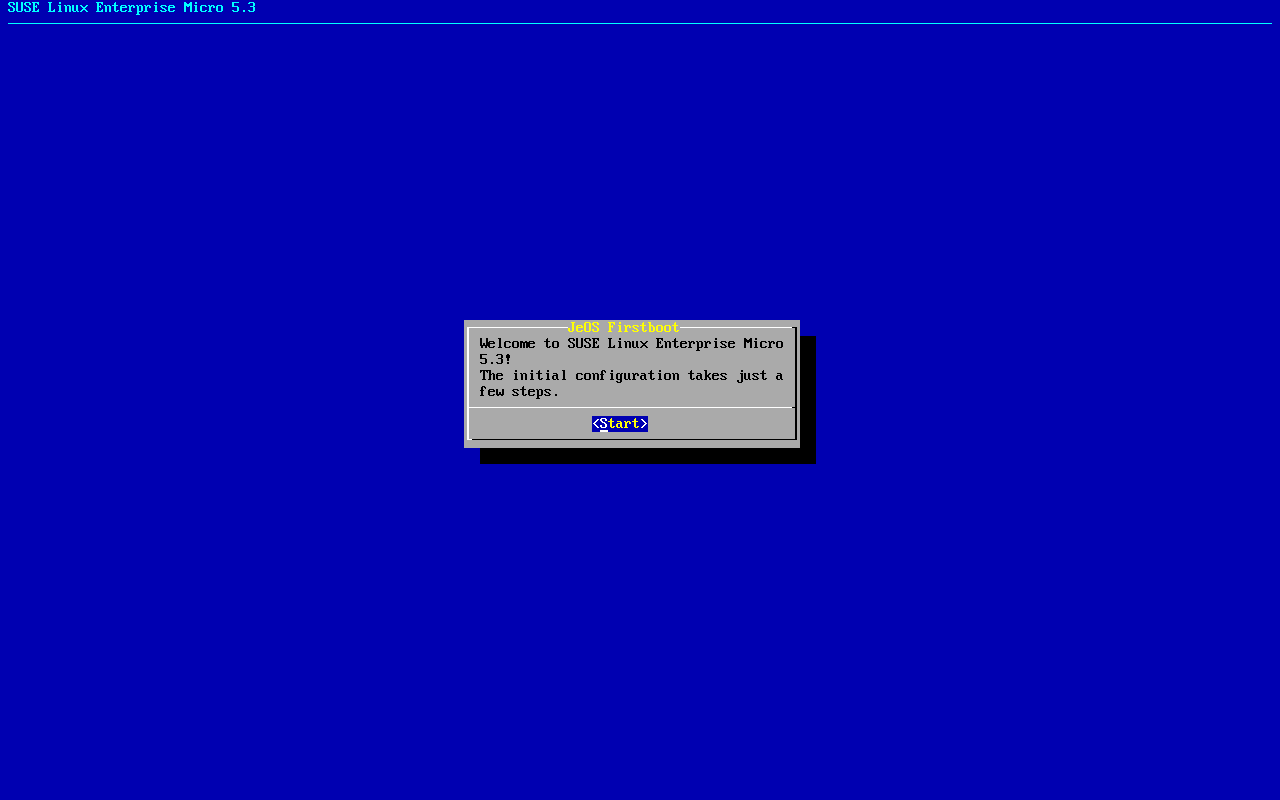
-
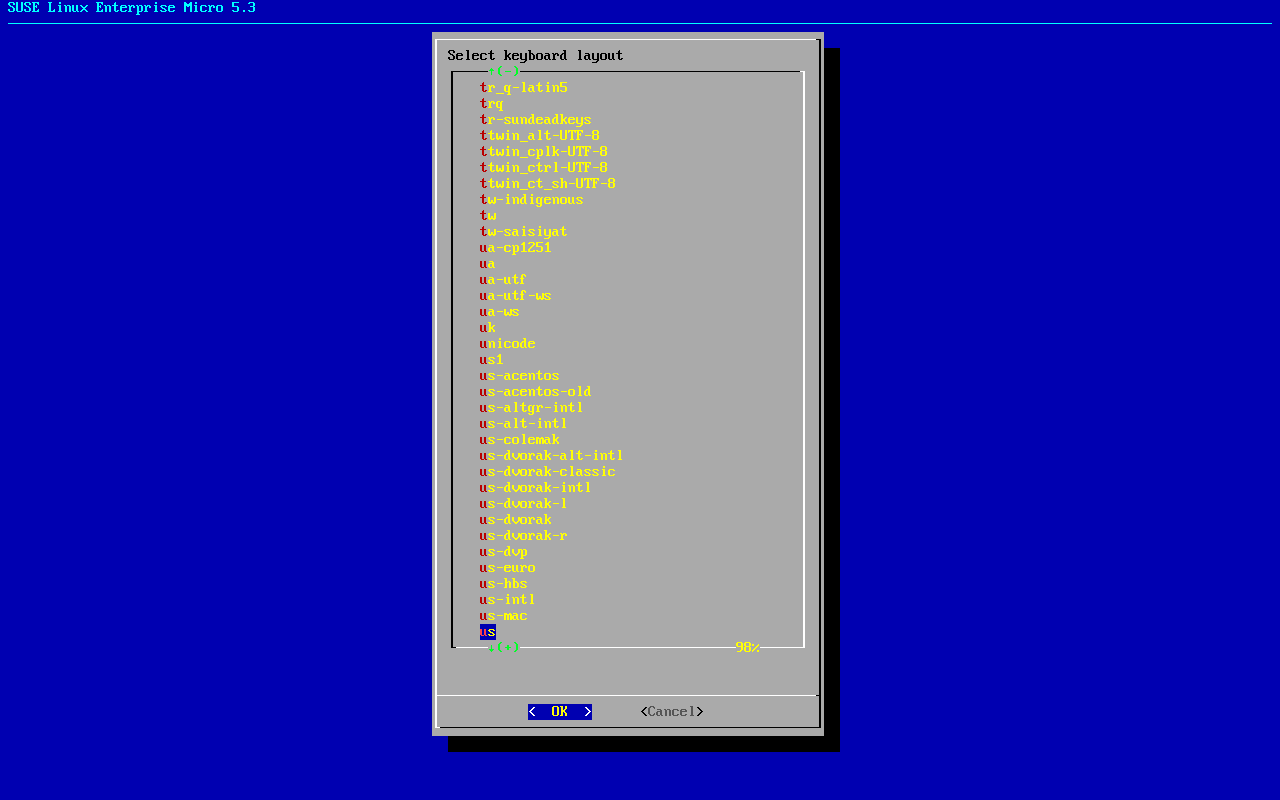
After reboot, the system will start the JEOS Firstboot wizard
If you want to configure the system using
combustionandignitionfiles, instead of using the JEOS Firstboot wizard, please refer to the section Preparing the configuration device (Optional) above, and ensure your media is connected during the first boot.


During the deployment of the selfinstall ISO, the image of the system is just copied to the selected disk, therefore, an EFI boot entry is not created (like it normally would if the system is deployed using an installer). You might need to manually boot your system using the EFI shell by selecting the SLE Micro boot loader. After the first boot, you can use
efibootmgrto create the boot entry.efibootmgris available by default in the deployed image.
Post Installation
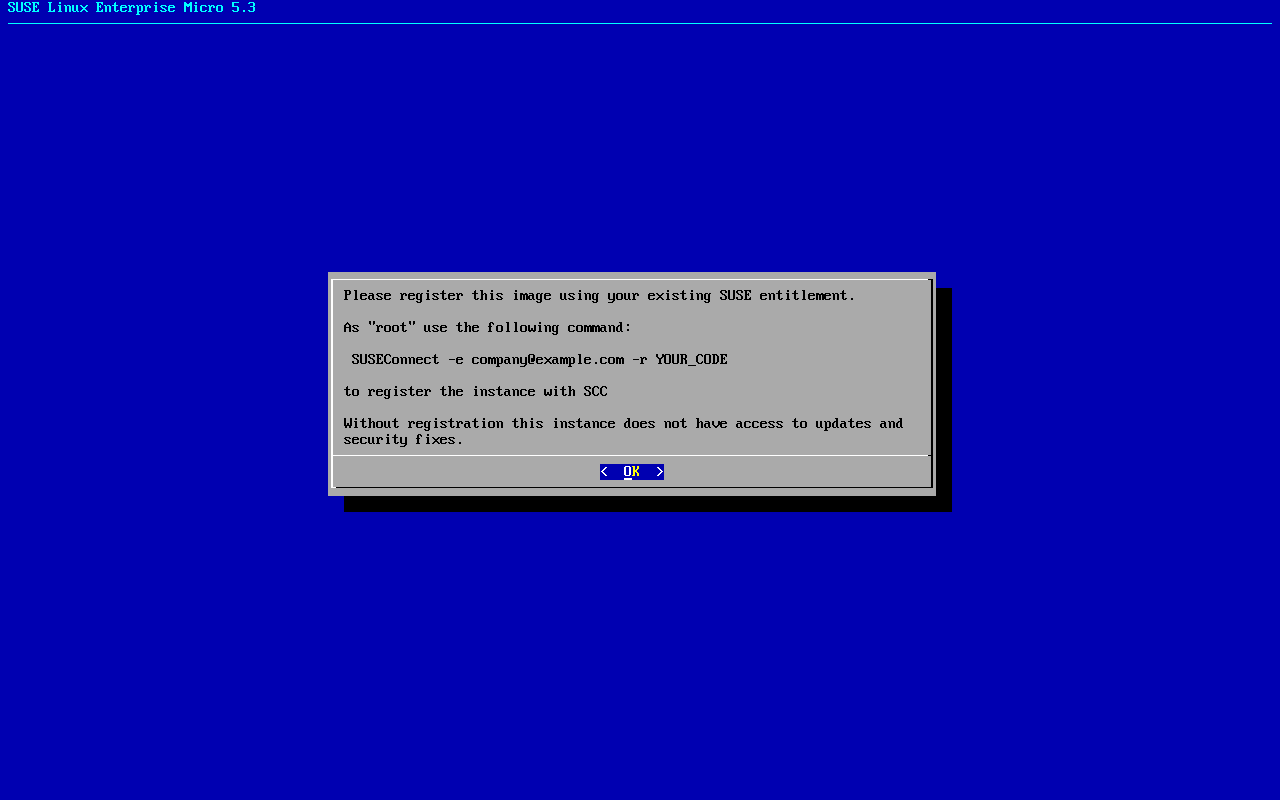
Registering the system is possible from the command line using the transactional-update register command. For information that goes beyond the scope of this section, refer to the inline documentation with `SUSEConnect --help
- To register SUSE Linux Enterprise Micro with SUSE Customer Center, run transactional-update register as follows:
transactional-update register -r REGISTRATION_CODE -e EMAIL_ADDRESS
To register with a local registration server, additionally provide the URL to the server:
transactional-update register -r REGISTRATION_CODE -e EMAIL_ADDRESS \
--url "https://suse_register.example.com/"
Replace REGISTRATION_CODE with the registration code you received with your copy of SUSE Linux Enterprise Micro. Replace EMAIL_ADDRESS with the e-mail address associated with the SUSE account you or your organization uses to manage subscriptions.
-
Reboot your system to switch to the latest snapshot.
-
SUSE Linux Enterprise Micro is now registered.
RKE2 Cluster Install
This section covers the installation of the RKE2 cluster on the management cluster nodes:
For more information, please refer to the documentation: https://docs.rke2.io/install/quickstart/
Server node installation command:
- Run the installer:
curl -sfL https://get.rke2.io | sh -
if you want to install a especific version, you can use the following command (i.e. v1.25.9+rke2r1):
curl -sfL https://get.rke2.io | INSTALL_RKE2_VERSION="v1.25.9+rke2r1" sh -
For more information about the installation, please refer to the documentation: https://docs.rke2.io/install/install_options/
- Enable the rke2-server service:
systemctl enable rke2-server.service
- Start the service:
systemctl start rke2-server.service
Agent node installation command:
- Run the installer:
curl -sfL https://get.rke2.io | INSTALL_RKE2_TYPE="agent" sh -
- Enable the rke2-agent service:
systemctl enable rke2-agent.service
- Configure the config.yaml file located in
/etc/rancher/rke2/with the following content:
server: https://<server>:9345
token: <token from server node>
- Start the service:
systemctl start rke2-agent.service
Rancher Manager Install
Rancher is installed using the Helm package manager for Kubernetes. Helm charts provide templating syntax for Kubernetes YAML manifest documents. With Helm, we can create configurable deployments instead of just using static files.
This section covers the installation of Rancher on the management cluster nodes.
For more information about the installation, please refer to the documentation: https://ranchermanager.docs.rancher.com/v2.7/pages-for-subheaders/install-upgrade-on-a-kubernetes-cluster
1. Add the Helm repository
There are three releases available to be added as a Helm repository for Rancher. In our case, we will use the rancher-stable because it's the release recommended for production environments, but you could use rancher-latest or rancher-alpha if you want. Also, there is a rancher primer release that is the enterprise version of Rancher.
helm repo add rancher-stable https://releases.rancher.com/server-charts/stable
If you don't have
helminstalled previously, you could install it using the following command:
curl -fsSL https://raw.githubusercontent.com/helm/helm/master/scripts/get-helm-3 |bash
2. Choose your SSL Configuration
The Rancher management server is designed to be secure by default and requires SSL/TLS configuration.
There are three recommended options for SSL/TLS configuration:
- Rancher-generated TLS certificate
- Let's Encrypt
- Bring your own certificate
For more information about the SSL/TLS configuration, please refer to the documentation: https://ranchermanager.docs.rancher.com/v2.7/pages-for-subheaders/install-upgrade-on-a-kubernetes-cluster/#3-choose-your-ssl-configuration
In our case we will use the Rancher-generated TLS certificate:
helm repo add jetstack https://charts.jetstack.io
helm repo update
helm install cert-manager jetstack/cert-manager \
		--namespace cert-manager \
		--create-namespace \
		--set installCRDs=true \
		--version v1.11.1
Once you've installed cert-manager, you can verify the pods are running:
kubectl get pods --namespace cert-manager
3. Install Rancher with Helm and your chosen certificate option
You can install Rancher with helm using the following command modifying the <hostname> and <bootstrapPassword> values:
helm install rancher rancher-stable/rancher \
        --namespace cattle-system \
        --create-namespace \
        --set hostname=<hostname> \
        --set bootstrapPassword=<bootstrapPassword> \
        --set replicas=1 \
        --set global.cattle.psp.enabled=false
4. Verify the Rancher installation
You should wait a few minutes for Rancher to be rolled out:
kubectl -n cattle-system rollout status deploy/rancher
Initial Configuration
TBC - Initial configuration necessary to begin creating edge cluster
Bare Metal Management Configuration
TBC - Integration and setup of Metal3/CAPI components